
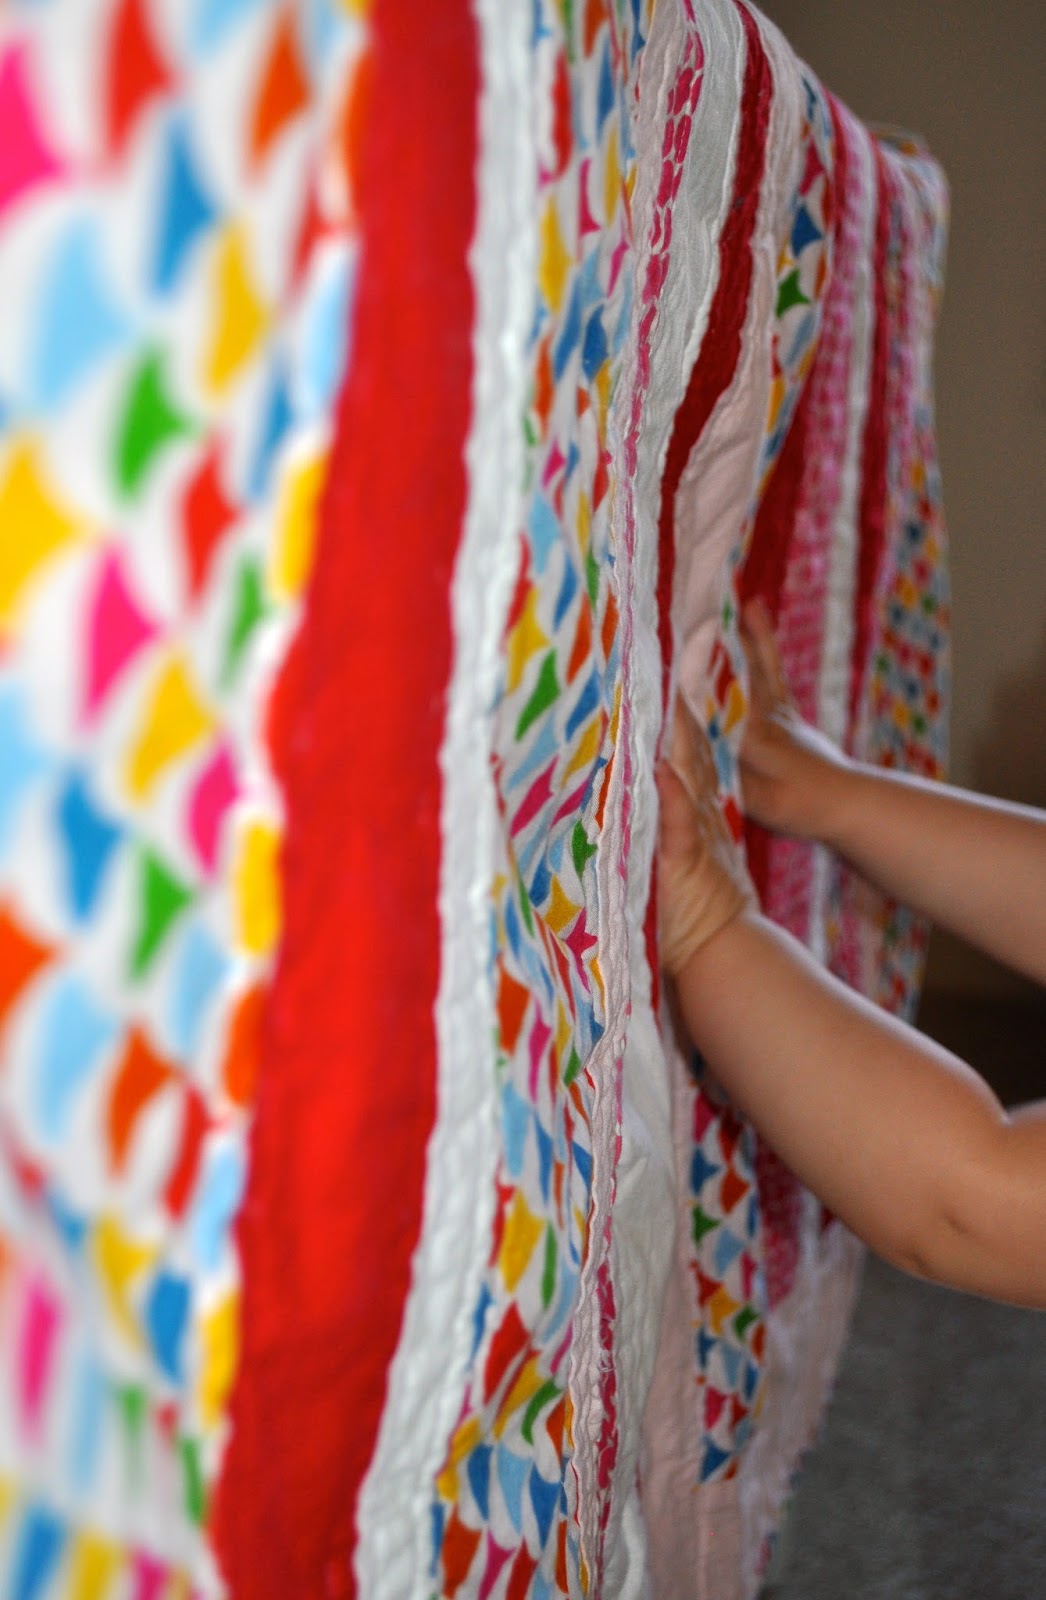
I started in February and finished two weeks ago. I didn't work on it very consistently, sometimes I'd go a week or even two without any progress. Even so, it clearly took a while. The finished product is pretty fantastic. It's full of wiggled lines that should be straight and misaligned fabrics, but that adds to the charm. Most importantly, my daughter absolutely loves it.
It's toddler bed sized. Though, as you learned last week, I have no intention of transitioning my little lady to a toddler bed any time soon and due to her "active" sleeping she is best suited for a wearable blanket. For now, she admires it (which makes me so happy), rolls around on it and snuggles with it during nap time.
Rather than walk you through a step-by-step guide of how I made it (because I'm totally unqualified and I'm not fully sure how it came together), I'll just give you the highlights. To begin, I went to Pinterest - the starting point for all great DIY projects. A bit of searching led me to a handful of tutorials. To make the front of the quilt, I used a guide from Film in the Fridge. To make the back of the quilt and sew together the front, the filling and the back (basting), I looked at a bunch of blogs and made my own way. To create the thin border (the binding), I used a guide from Make It & Love It.
As far as my gear (my quilting gear) - I didn't get any. I couldn't bring myself to purchase all the "necessary" accoutrement simply because it was pretty expensive and I didn't want to make the commitment. I wasn't certain that I'd even finish this quilt much less take on future quilts. Not having a rotary cutter or cutting board or marking tape or curved safety pins or massive ruler didn't stop me, nor did it significantly affect my finished product. BUT, if I do it again, I will pick up a rotary cutter and cutting board. Cutting fabric with greater precision will make for a better quilt (especially if I use a more complicated pattern) and it will save me time. A lot of time.

I found the basting to be the most difficult step. I found the binding to be the most satisfying. It was a great project and I'm already thinking about my next.

1 comment:
YEs it's really amazing blog!
Post a Comment